James Hardie Garage Conversion Contractor in Los Angeles: What to Know First
A James Hardie garage conversion in Los Angeles typically runs $85,000 to $150,000 for a full living-space buildout, depending on whether the garage is attached or detached, what the city asks for in the permit, and how much of the existing Hardie siding stays in place. We’re an independent James Hardie service provider, not a factory-authorized outlet, and we don’t sell you a package before we’ve walked the site. What you’ll get from us is a written price before any work starts, a crew that shows up in uniform with shoe covers, and a clear answer about what’s realistic for your lot.
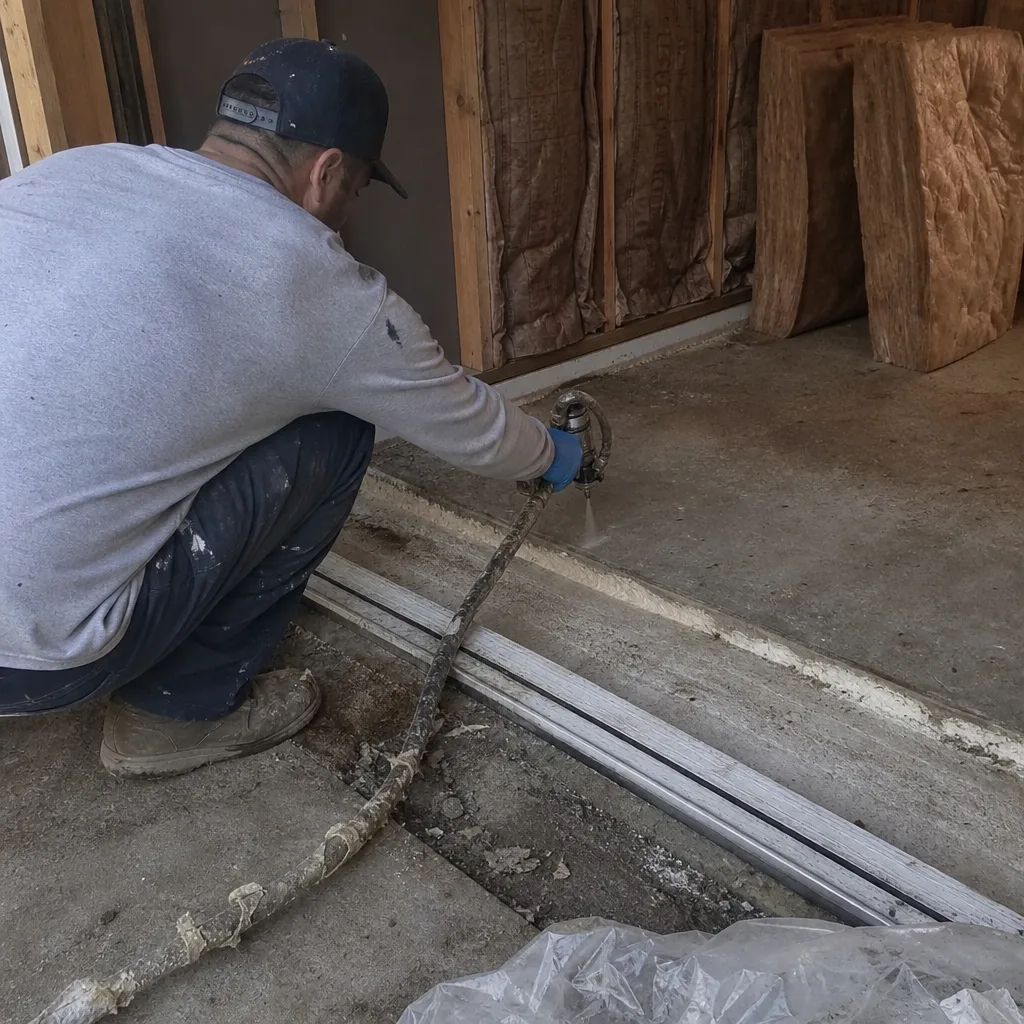
This page is for Los Angeles homeowners who already have James Hardie siding or HardieBacker board on the garage and want to know what the conversion will actually take. If you’re reading this from Silver Lake or the Valley or anywhere between, call (213) 449-7136 and we’ll talk through what you’re working with.
How James Hardie Products Fail, and How We Fix Them
James Hardie materials hold up better than most in the Los Angeles climate, but they’re not indestructible. Here’s what we see on garage conversions across the city, and what we do about it.
- HardiePlank lap siding pulling away at the garage slab edge. In older Los Angeles garages, the bottom course of HardiePlank often sits too close to grade. Decades of sprinkler overspray and the occasional standing puddle after a winter storm wick moisture up into the bottom edge, and the board swells just enough to bow. We cut the damaged course out, check the framing behind it for rot, and reinstall with proper clearance off the slab. Most contractors will slap a patch over it. We fix the clearance so it doesn’t come back.
- HardieBacker board crumbling around the old garage door opening. When a garage door gets removed and framed in for a wall, the HardieBacker around the old opening is rarely in good shape. Years of vibration from the door track, plus Southern California’s dry heat, leave the board brittle at the corners. We see this constantly on homes in the San Fernando Valley. The fix is removing the compromised section and tying the new framing into the remaining sheathing properly, not just screwing drywall over a dusty mess.
- HardieTrim boards cracking at mitered corners. HardieTrim looks clean on day one, but thermal movement in a hot Los Angeles summer is real. Mitered joints on garage corners open up a hair, water finds the gap, and the board cracks from the inside out. Caulking over it hides the problem for one season. We replace the trim with a butt joint and a proper backer rod, which gives the material room to move without splitting.
- HardiePanel vertical siding delaminating on west-facing garage walls. That afternoon sun in Los Angeles beats on west-facing HardiePanel relentlessly. We’ve pulled panels off garages in the Mid-City area where the paint had held but the top laminate layer had started separating from the core. The material becomes spongy to the touch. You can’t see it from the street, but your hand tells you immediately. We replace those panels before the conversion work begins because once drywall goes up inside, you’ve sealed the problem into the wall.
- Gaps where Hardie siding meets the new ADU roofline. A garage conversion often means a new roofline or at least a significant modification to the existing one. The intersection where old Hardie siding meets the new roof framing is where water gets in if the flashing isn’t perfect. We cut back the siding to clean material, install full step flashing, and then re-side to meet it. This is not the place for tape and hope.
Our James Hardie Garage Conversion Contractor Process
Here’s how a garage conversion with James Hardie materials actually goes with us, from the first call to the last walkthrough.
- 1
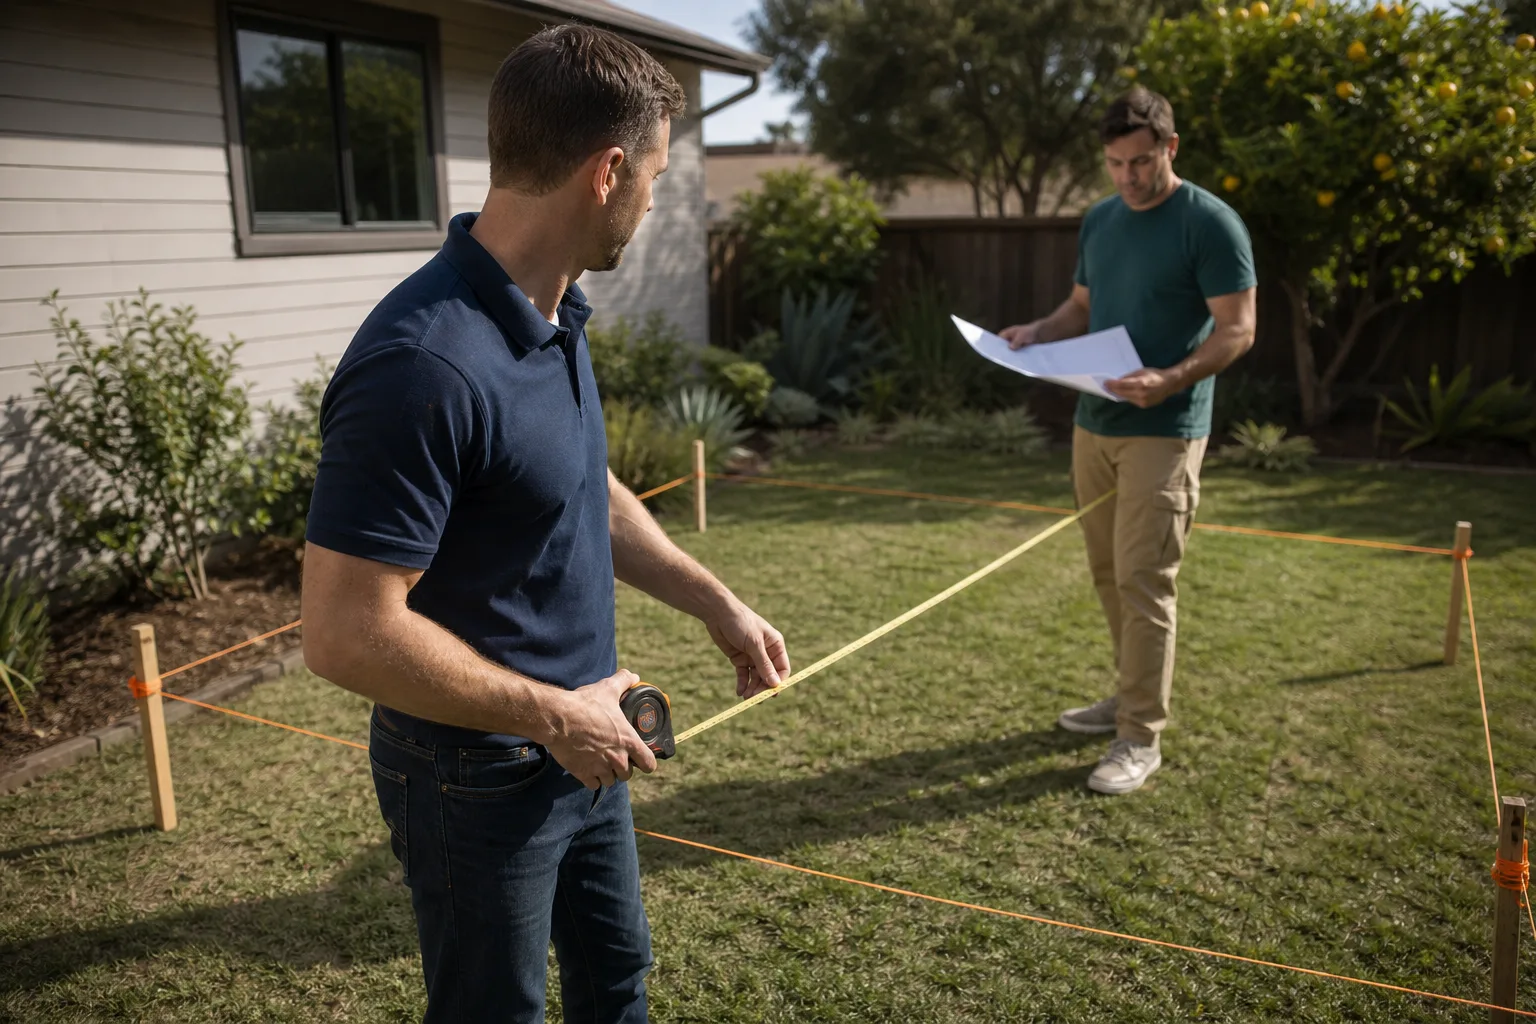
Site visit and the conversation about what you need. Ben Ortega walks the garage with you. He’ll ask what the space needs to do, where the kitchen goes, where the bathroom plumbing can realistically tie in, and what the family’s daily rhythm looks like. Tell me what you need the space to do, and we’ll figure out the honest path to get there.
- 2
Written price before anything gets touched. We put the full scope in writing, including the line items for Hardie siding work, framing, electrical, plumbing, insulation, drywall, and finishes. No lump-sum vagueness. If the permit office asks for something extra, that’s a conversation, not a surprise invoice.
- 3
Demo and the James Hardie assessment. Our crew opens up the walls and we do the full inspection of the existing Hardie material. This is where we catch the failure modes listed above and adjust the plan if needed. You hear from us before we deviate from the written scope, in plain English, with numbers.
- 4
Framing, utilities, and the Hardie repair or replacement. The conversion takes shape: new wall framing where the garage door was, plumbing rough-in, electrical, and then the siding work. We use OEM James Hardie material where it’s available and makes sense, and we’ll tell you honestly when a quality aftermarket product does the job just as well for less money.
- 5
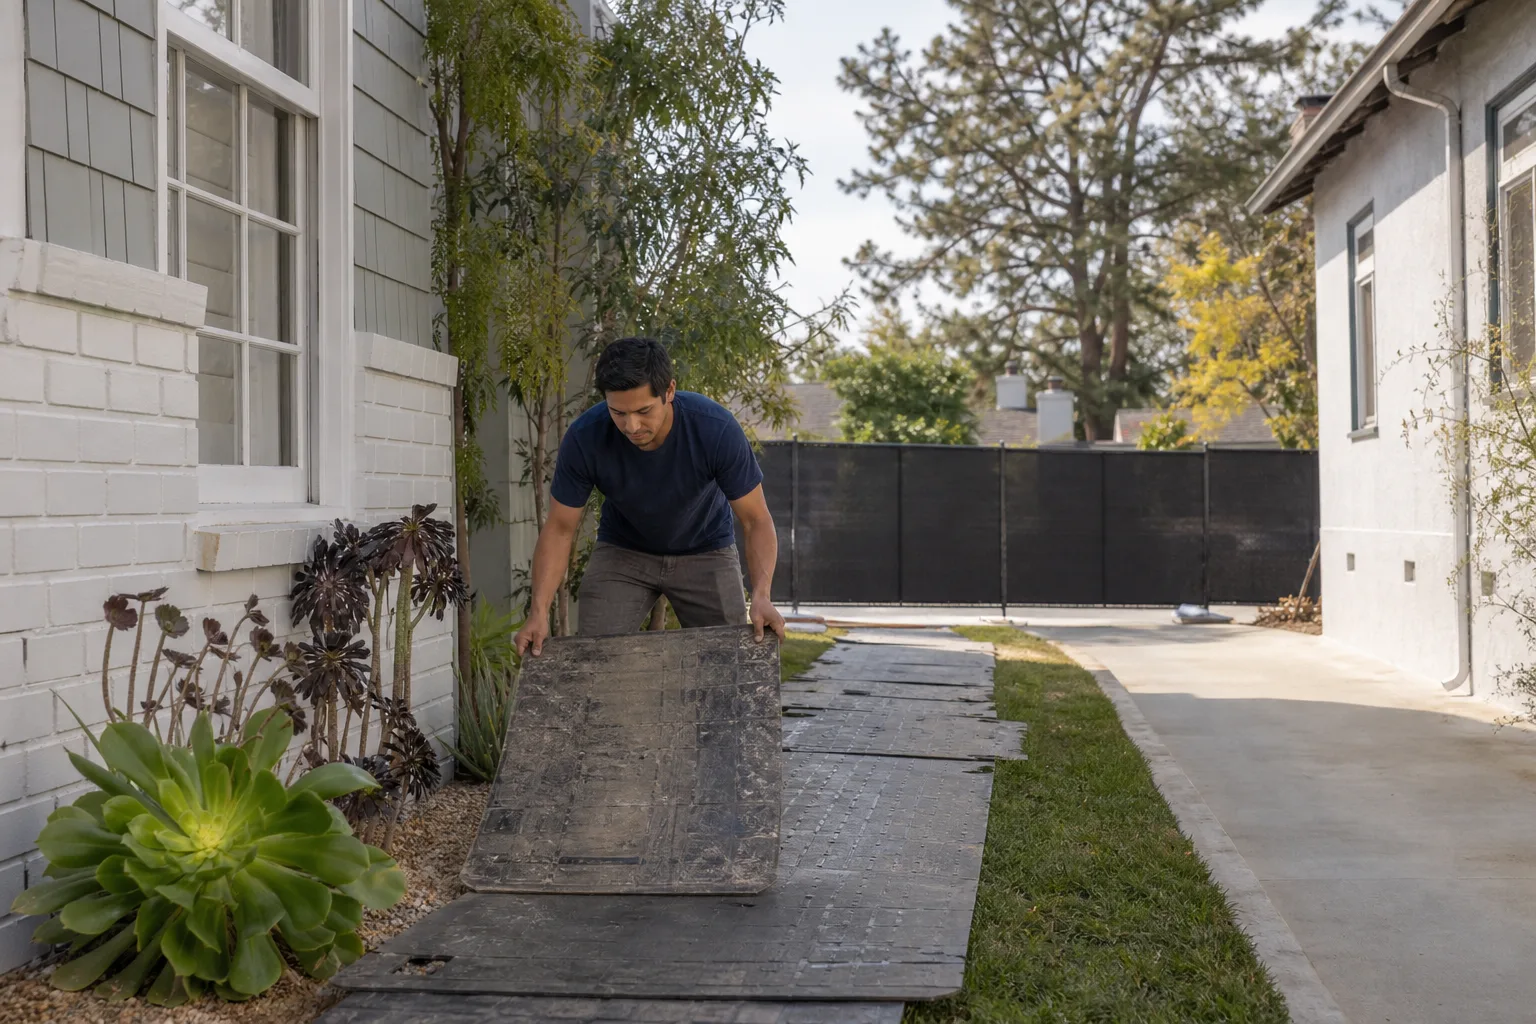
Interior buildout and the cleanup routine. Drop cloths down, shoe covers on every time we walk through the house. Pet-safe products where there’s a choice. At the end of each day, the crew takes a photo of the clean-up and the site lead makes sure it actually looks like a home, not a construction yard.
- 6
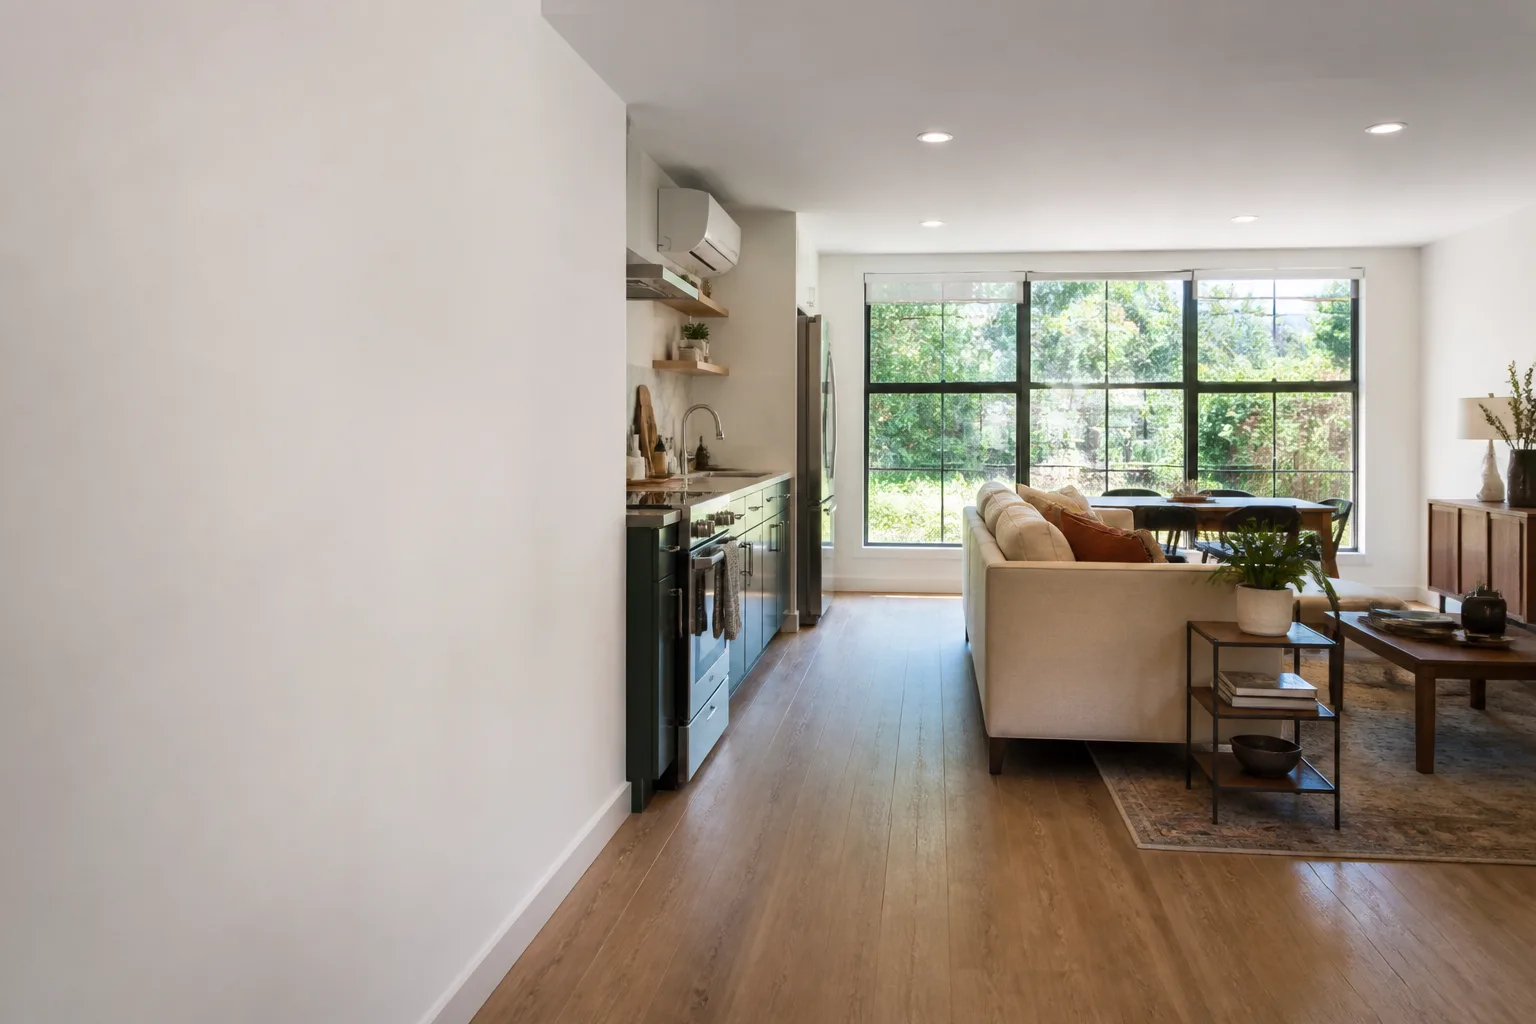
Final inspection and the 365-Day Done Right Promise. We walk the finished unit with you. Every outlet tested, every door swings true, the Hardie siding straight and sealed. If it’s not done right, we make it right within a year, in writing.
What James Hardie Garage Conversion Contractor Costs in Los Angeles
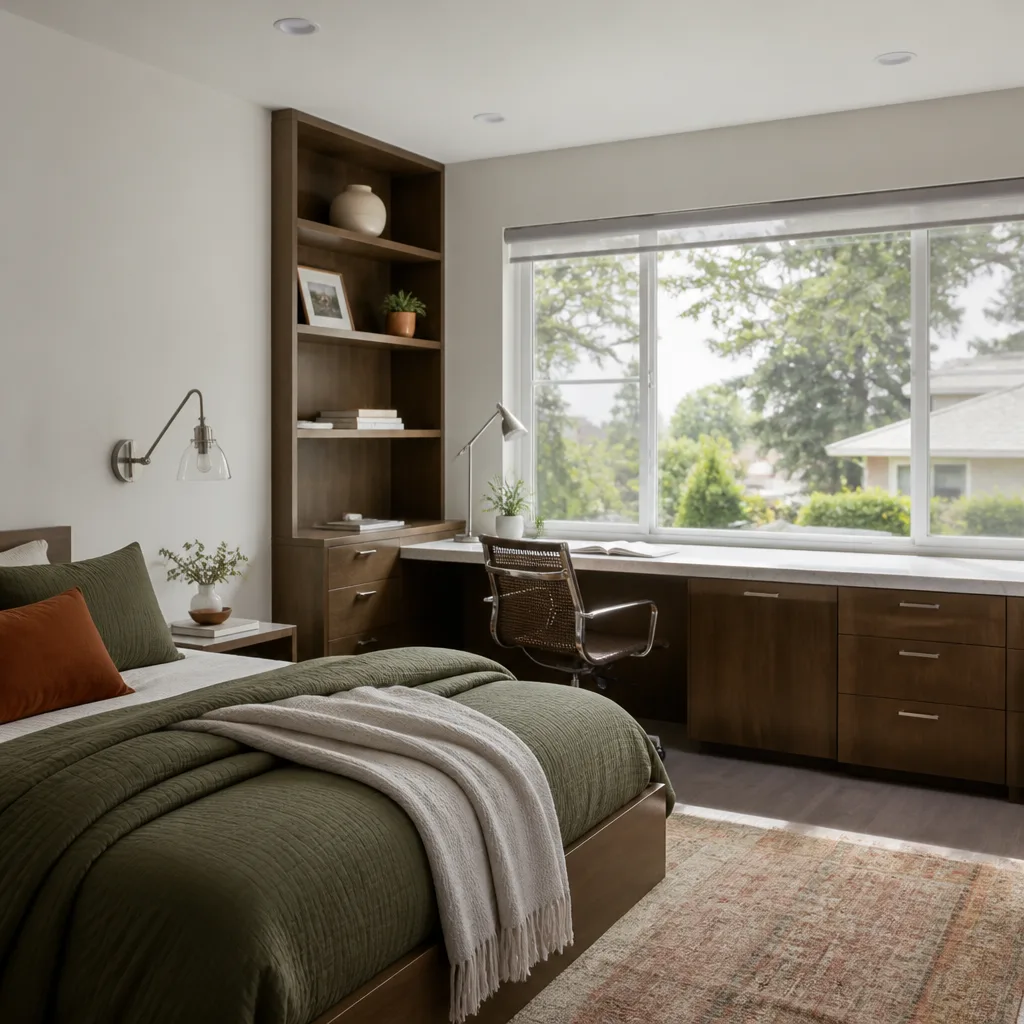
Los Angeles garage conversions are not cheap, and anyone who quotes you a number before seeing the garage is guessing. Here are honest ranges based on what we’ve built across the city.
- Attached garage conversion to a studio ADU: $85,000 to $120,000. This assumes the existing slab is in good shape, the electrical panel can handle the added load, and the Hardie siding on three walls is salvageable.
- Detached garage conversion to a one-bedroom ADU: $110,000 to $150,000. Detached units run more because of the longer utility runs, separate permitting path, and frequently more Hardie repair work on a structure that’s been standing alone for decades.
- Hardie siding repair or replacement as part of the conversion: $8,000 to $25,000 depending on how many courses we’re pulling and whether the framing behind them is sound.
- Garage to bedroom conversion only, no kitchenette: $60,000 to $85,000. Less plumbing, less electrical, cheaper permit, but still a fully conditioned, permitted living space.
What moves the price: the age of the garage, whether the city requires shear wall upgrades, how far the utility lines have to run, and how much of that James Hardie siding is still doing its job. The best way to know is to call (213) 449-7136 and schedule a free estimate. You’ll get a written price, not a phone-call ballpark.
Why Los Angeles Homeowners Call Seedling ADU Los Angeles for James Hardie Work
Most garage conversion companies in Los Angeles don’t think about the siding until it’s in the way. We think about it from the first walkthrough because a conversion built behind failing Hardie board is a finished unit with a hidden problem.
We work with Abodu, Cover, and Dvele for prefab options on some lots, and we know when James Hardie materials are the right call for your specific project. The 365-Day Done Right Promise is written into every contract. Our technicians are background-checked and uniformed, so when someone walks through your gate on a Tuesday morning, you know who they are. Calls get answered by a live person, 24/7, because an active build raises questions at odd hours and you deserve an answer, not a voicemail tree.
The Cedarwell Care Promise is how we work inside your home: shoe covers, drop cloths, pet-safe products, and a photo of the clean-up before the crew heads out. That’s not an upsell. That’s the baseline.
FAQs
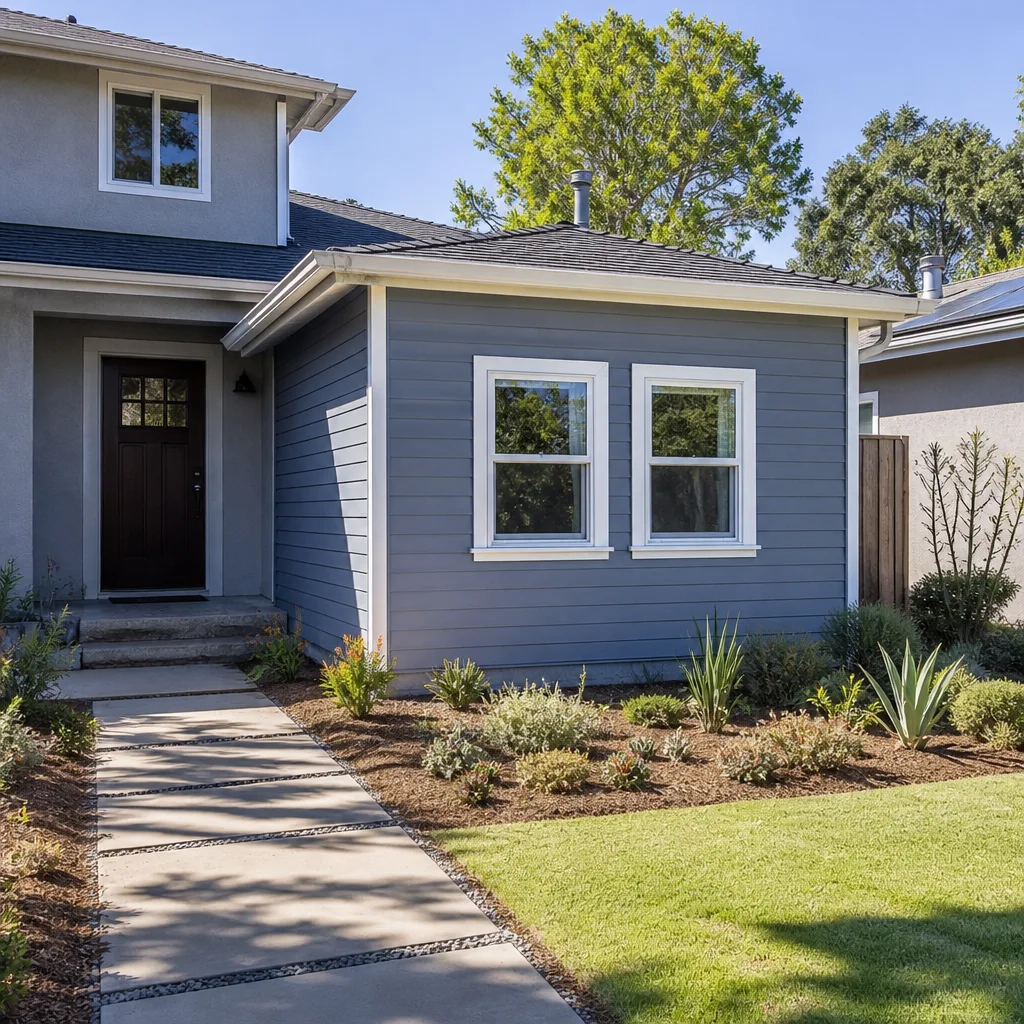
In most cases, no, as long as the siding work is done to the manufacturer’s installation specs and the modifications don’t compromise the drainage plane behind the siding. But the warranty language does vary by product line, and if your siding was installed more than ten years ago, the prorated coverage may not be worth much. We’ll help you read the actual warranty document for your specific Hardie product before we touch anything.
A typical attached garage conversion runs three to five months from permit submission to final inspection in Los Angeles, and the Hardie siding work is usually one to two weeks of that timeline. The city’s plan check and inspection schedule shapes the calendar as much as our crew does. We’re honest about that from the start.
Depends on what the wall inspection finds. On most Los Angeles garages built before the 2000s, we save about half the siding and replace the rest, usually the bottom courses and the areas around the old door opening. If the Hardie material is in good shape, we leave it alone and insulate from the inside. If it’s compromised, replacing it now is a fraction of what it would cost to tear open a finished wall later.
For siding and trim that stays exposed to the weather, yes, OEM Hardie is the right call. For interior components where the Hardie product isn’t visible or load-bearing, a quality aftermarket equivalent does the job at a better price. We’ll show you the difference on your specific scope and let you decide with real numbers in front of you.
Only if the inspection finds something we couldn’t have known existed, like termite damage or framing that’s no longer sound. Then we stop work, show you exactly what we found, and give you a written change order before proceeding. No one on our crew has the authority to add a dollar to your project without your signature.
Call (213) 449-7136 to schedule your free estimate. We’ll walk the garage with you, talk through the James Hardie condition, and put a written price in your hands.
Written by Ben Ortega, Owner, Seedling ADU Los Angeles at Seedling ADU Los Angeles, serving Los Angeles and nearby areas.